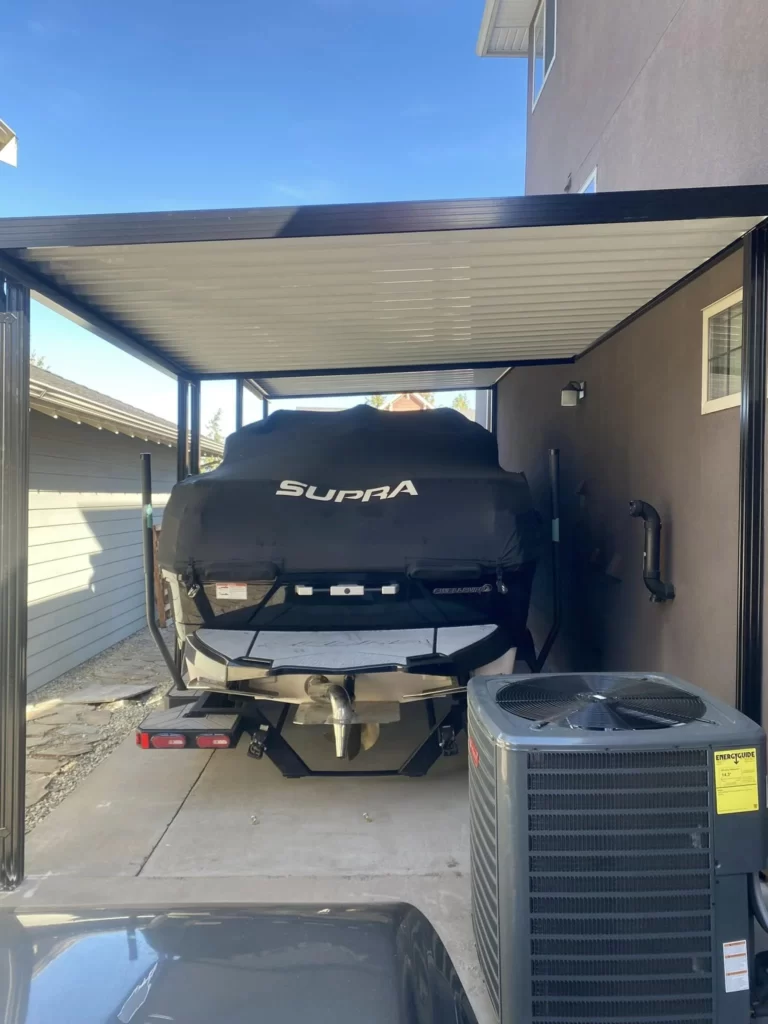
So, your thinkin’ of puttin’ up yer own aluminum patio cover, eh? That’s a big job, but not impossible. I’ve seen folks do it, and lemme tell ya, it’s all about takin’ yer time and doin’ it right. It usually takes a day or two? Think it as a big puzzle.

Key Takeaways
- Measure Twice: Get those measurements spot-on.
- Support First: Get that structure solid.
- Frame It Up: Assemble the main frame.
- Roof On: Interlock those panels tight.
- Seal It: Flashing and caulk are yer friends.
- Final Touches: Add the finishing touches for a pro look.
Measure Like Your Life Depends On It

Seriously, this is the most important part. If yer measurements are off, the whole thing’s gonna be crooked. Measure the patio area length and width. Write it down like 3 times. Then measure again. If you are looking for measurements, there is information on diy patio cover measurements.
- Accurate Measurements: Use a reliable tape measure.
- Check Squareness: Ensure the patio is square for a proper fit.
- Account for Obstacles: Note any doors, windows, or other features.
Build That Support Like It’s a Tank
Next up, you gotta get the support structure in place. This usually involves attachin’ a channel or rail to the house and installin’ posts on the patio slab. Make sure everything’s level! If ya can’t find level ground deck railing installers kelowna can help!
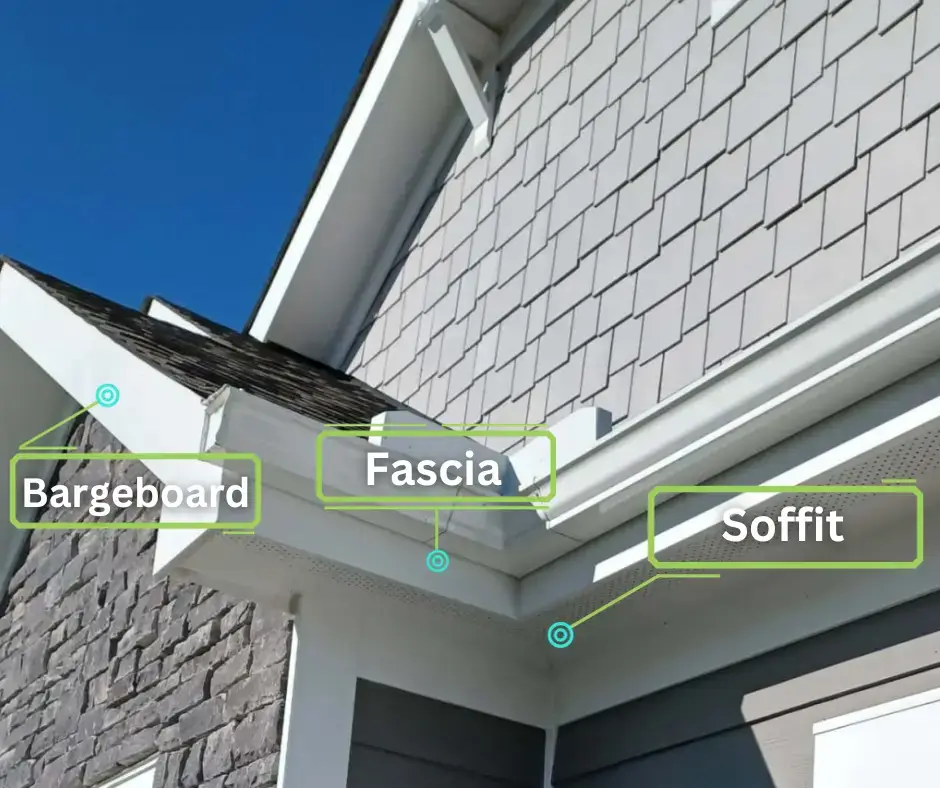
- Attach to House: Secure the hanging channel to the fascia board or wall.
- Install Post Brackets: Use concrete anchors to secure brackets to the slab.
- Cut Posts to Height: Ensure posts are the correct length for a level cover.
Frame It Up, Right Proper

Now you start puttin’ the frame together. This involves connectin’ the posts to the header (the horizontal beam that runs across the top). Use the right screws and bolts, and make sure everything’s tight. This frame is holding everthing in place, it provides aluminum patio cover benefits.
- Connect Posts to Header: Use appropriate fasteners to join the posts and header.
- Ensure Squareness: Check that the frame is square before proceeding.
- Tighten All Connections: Make sure all screws and bolts are securely tightened.
Roof Panel Time
This is where it starts to look like a real patio cover! Start with the first panel and make sure it’s pressed snug into the foam gasket (the seal that keeps water out). Then just keep addin’ panels, interlockin’ ’em as you go. It’s kinda like puttin’ together a giant puzzle. If you get a glass patio cover you can see the stars!
- Start with First Panel: Ensure it’s properly aligned and sealed.
- Interlock Panels: Secure each panel to the previous one.
- Press into Gasket: Ensure a tight seal to prevent water leakage.
Seal It Up, Good

To prevent water from seepin’ in, you gotta install flashin’ (strips of metal that seal the gaps between the patio cover and the house). Also, add fascia (the decorative trim that goes around the edges). This not only looks nice but also helps to protect the patio cover. If that looks hard maybe you should get a diy patio cover kit.
- Install Flashing: Seal the gap between the patio cover and the house.
- Attach Side Fascia: Add decorative trim to the sides of the cover.
- Add Corner Angles: Secure the corners for a finished look.
The Final Touches: Make It Shine
Now for the little details that make a big difference. Install fascia clips and corners to hold everything in place. Add drainage components, like scuppers, to direct water away from the patio. Finally, caulk all the seams and joints to make it watertight. If you want to change this to a walk on aluminum patio covers maybe ask for professional help.
- Install Fascia Clips: Secure the fascia in place.
- Add Drainage Components: Direct water away from the patio.
- Caulk Seams and Joints: Seal all gaps to prevent water infiltration.
Level, Level, Level!
Throughout the whole process, keep checkin’ that everything’s level. A level is yer best friend on this job. If it’s not level, water’s gonna pool up in spots, and the whole thing’s gonna look wonky. Trust me, you’ll thank yerself later. Always have a level by you, especially if you get patio covers home value (https://okanaganpatiocovers.ca/patio-covers-home-value/).
- Use a Level: Ensure all components are level and plumb.
- Adjust as Needed: Make corrections to maintain level alignment.
- Double-Check: Verify levelness at each stage of the installation.
Don’t Be Afraid to Ask for Help, Eh?
DIY kits usually come with detailed instructions, and some even offer live support. Don’t be afraid to use ’em! If you get stuck or confused, it’s better to ask for help than to mess somethin’ up. A professional for okanagan aluminum patio covers can solve any issues!
- Read Instructions Carefully: Follow the manufacturer’s guidelines.
- Utilize Support: Take advantage of any available customer support.
- Don’t Hesitate to Ask: Seek assistance when needed to avoid mistakes.
Frequently Asked Questions
- How long does it take to install?
- Usually, it takes about 1-2 days, dependin’ on yer skill level and the size of the patio cover.
- What tools do I need?
- You’ll need a tape measure, level, drill, saw, ladder, and some basic hand tools.
- Do I need a permit?
- It depends on yer local regulations. Check with yer city or town to be sure.
- Can I do this myself, even if I’m not a handyman?
- It’s possible, but it’s not the easiest project. If you’re not confident in yer skills, it’s best to hire a pro.
So, there ya have it! A step-by-step guide to installin’ yer own aluminum patio cover. Just remember to take yer time, measure carefully, and don’t be afraid to ask for help. And if you decide it’s too much work, give the folks at Okanagan Patio Covers a call. They’ll get it done right!
