

Aluminum Patio Cover Installation: Steps, Tips & What to Expect
Thinking about installing your own aluminum patio cover? It’s a big job, but not impossible. This step-by-step guide walks you through the entire process, from measuring to the final seal. Most installations take 1-2 days with the right preparation.
Step 1: Measure Like Your Life Depends On It
Seriously, this is the most important part. If your measurements are off, the whole thing’s going to be crooked. Take your time here and you’ll save yourself major headaches later.
What to Measure
- Patio area length and width: Measure at multiple points to check for squareness
- Height from ground to eaves: This determines post length and roof slope
- Eaves overhang: Helps you figure out attachment points
- Obstacles: Note any windows, doors, lights, or gas meters
Check for Square
Use the 3-4-5 triangle method: measure 3 feet along one edge, 4 feet along the other, and the diagonal should be exactly 5 feet. If not, your patio isn’t square and you’ll need to account for that in your design.
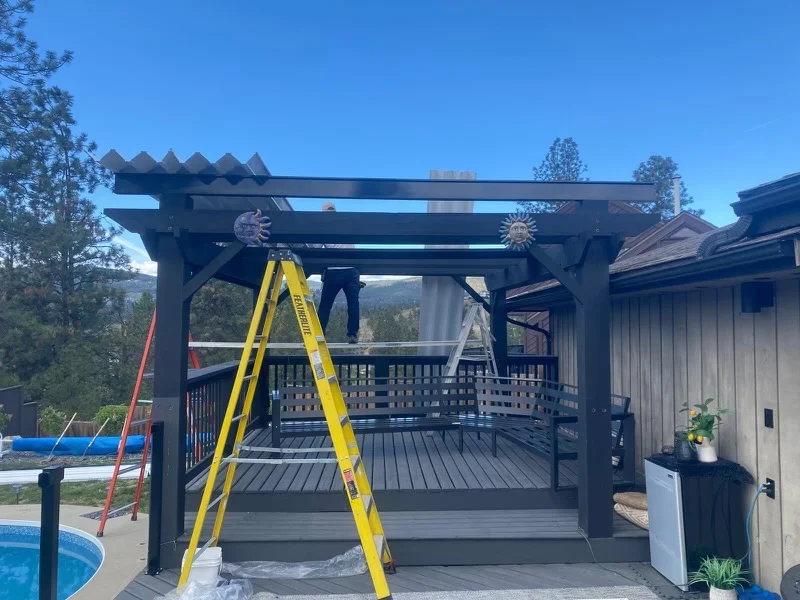
Step 2: Build That Support Structure
The support structure is what holds everything together. This usually involves attaching a ledger board to the house and installing posts on the patio slab. Make sure everything is level!
Attach the Ledger Board
- The ledger attaches to your home’s fascia board or wall
- Use appropriate fasteners rated for the load
- Install flashing behind the ledger to prevent water intrusion
- Make sure it’s perfectly level—check with a 4-foot level
Install Post Brackets
- Use concrete anchors rated for your cover’s weight
- Position brackets according to your design specs
- Allow proper spacing for drainage slope (typically 1/4″ per foot)
Cut Posts to Height
Calculate your post height based on the ledger height, desired roof slope, and beam thickness. Remember: measure twice, cut once. You can always trim more, but you can’t add length back.
Step 3: Frame It Up Right
Now you’re connecting posts to the header beam. This frame holds everything in place—it needs to be solid and square.
Assembly Steps
- Set posts in brackets: Use temporary bracing to hold posts plumb
- Attach header beam: Connect the horizontal beam across post tops
- Install rafters: Space according to your panel width (typically 3-4 feet)
- Check squareness: Measure diagonals—they should be equal
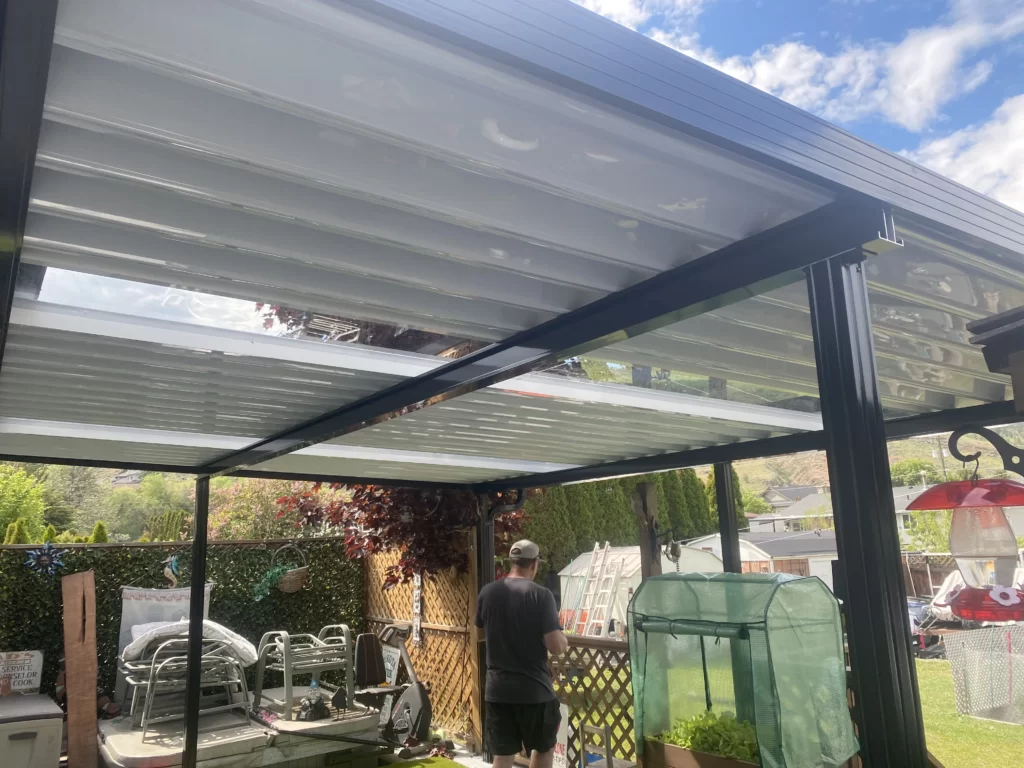
Step 4: Roof Panel Installation
This is where it starts looking like an actual patio cover! The panels interlock and slide into channels for a watertight seal.
Panel Installation Steps
- Start at the house: First panel goes against the ledger
- Press into gasket: Ensure the panel seats fully into the foam seal
- Interlock panels: Each panel clicks into the previous one
- Secure fasteners: Use the specified screws at designated points
- Continue to outer edge: Last panel may need trimming to fit
Work carefully here. Each panel needs to be fully seated in its channel before you move to the next one. A panel that’s not properly interlocked will leak.
Step 5: Sealing & Flashing
Water is the enemy. Proper sealing keeps your patio dry and prevents damage to your home’s structure.
Install Flashing
- Flashing goes where the cover meets the house
- Tuck under existing siding or roofing
- Overlap joints by at least 2 inches
- Apply sealant at all penetrations
Add Fascia Trim
- Side fascia covers exposed panel edges
- Front fascia creates a finished look
- Corner angles secure the trim pieces
- Use color-matched screws or concealed fasteners
Step 6: Final Touches
The details that separate a professional-looking job from a DIY disaster:
Gutters & Drainage
- Install gutters along the front edge
- Add downspouts at corners (at least one per 20 feet)
- Direct water away from foundation
- Consider adding scuppers for additional drainage
Caulking
- Seal all joints where panels meet frame
- Caulk around any penetrations (lights, fans)
- Use exterior-grade, paintable silicone
- Apply in dry conditions above 50°F
Final Inspection
- Check all fasteners are tight
- Verify panels are fully seated
- Test drainage with a hose
- Look for any gaps or missed spots
DIY vs Professional Installation: Making the Right Choice
One of the biggest decisions you’ll face is whether to tackle your patio cover installation yourself or hire professionals. Both approaches have their merits, and the right choice depends on your skills, time, and budget.
When DIY Makes Sense
- Freestanding structures: No attachment to your home means less risk of water damage
- Small projects: A 10×10 ft cover is manageable for experienced DIYers
- You have construction experience: Former contractors or skilled tradespeople
- Budget is tight: DIY can save 40-60% on labor costs
- You enjoy the challenge: Some homeowners genuinely love hands-on projects
When to Hire Professionals
- Attached covers: Improper attachment can cause structural damage or roof leaks
- Large projects: Anything over 200 sq ft benefits from crew efficiency
- Complex terrain: Sloped lots, multi-level patios, or unusual shapes
- Permit requirements: Pros know local codes and handle inspections
- Time constraints: A crew finishes in days what takes DIYers weeks
Cost Comparison
For a typical 12×16 ft aluminum patio cover in the Okanagan:
- DIY materials only: $2,500 – $4,500
- Professional installation: $5,500 – $9,000
- DIY time investment: 20-40 hours over 2-4 weekends
- Professional time: 2-3 days, no weekends sacrificed
Permits & Building Codes in the Okanagan
Before you break ground—or even order materials—you need to understand local permit requirements. Skipping this step can result in fines, forced removal, or problems when selling your home.
When You Need a Permit
In most Okanagan municipalities (Kelowna, West Kelowna, Vernon, Penticton), you’ll need a building permit for:
- Any patio cover attached to your home
- Freestanding structures over 108 sq ft (10 sq meters)
- Structures within setback zones (typically 1.5m from property lines)
- Any electrical work (lighting, fans, outlets)
Permit Costs by Municipality
| Municipality | Typical Permit Cost | Processing Time |
|---|---|---|
| Kelowna | $150 – $300 | 2-4 weeks |
| West Kelowna | $125 – $275 | 2-3 weeks |
| Vernon | $100 – $250 | 1-3 weeks |
| Penticton | $125 – $300 | 2-4 weeks |
| Lake Country | $100 – $225 | 1-2 weeks |
What You’ll Need for Your Application
- Site plan: Showing your property, house, and proposed cover location
- Construction drawings: Including dimensions, materials, and attachment details
- Structural calculations: For snow load and wind resistance (often provided by manufacturer)
- Property survey: If building near property lines
Snow Load Requirements
The Okanagan has specific snow load requirements that vary by elevation. Most areas require structures to support 1.5 to 2.0 kPa (31-42 lbs per square foot) of snow load. Quality aluminum covers are engineered to meet or exceed these requirements, but verify with your manufacturer.
Common Installation Mistakes (And How to Avoid Them)
After seeing hundreds of patio cover installations—both professional and DIY—certain mistakes come up again and again. Here’s what to watch for:
Mistake #1: Inadequate Slope
The Problem: Water pools on the cover, causing premature wear and potential leaks.
The Fix: Maintain a minimum 1/4″ drop per foot of run. For a 12-foot cover, that’s 3 inches of slope from house to outer edge. Some prefer 1/2″ per foot for better drainage.
Mistake #2: Wrong Fasteners
The Problem: Screws rust, strip out, or aren’t rated for the load, leading to structural failure.
The Fix: Use only stainless steel or hot-dipped galvanized fasteners. Concrete anchors should be rated for at least twice your calculated load. Never use drywall screws outdoors.
Mistake #3: Poor Flashing Installation
The Problem: Water gets behind the ledger board, causing rot in your home’s structure.
The Fix: Install Z-flashing that tucks under siding and extends over the ledger. Use butyl tape or sealant at all penetrations. When in doubt, consult a professional roofer.
Mistake #4: Undersized Posts
The Problem: Posts flex or bow under load, especially during heavy snow.
The Fix: Use manufacturer-recommended post sizes. For most residential covers, 4×4 aluminum posts work for spans up to 10 feet. Longer spans or heavy snow areas need 6×6 posts.
Mistake #5: Ignoring Thermal Expansion
The Problem: Panels buckle in summer or develop gaps in winter.
The Fix: Leave 1/8″ expansion gaps where panels meet frames. Use slotted holes where possible. Install during moderate temperatures (15-25°C) for best results.
Project Timeline & Planning
A successful patio cover installation starts weeks before the first screw goes in. Here’s a realistic timeline for planning your project:
6-8 Weeks Before Installation
- Research materials and designs
- Get quotes from 2-3 contractors (even if DIY, for comparison)
- Measure your space thoroughly
- Check permit requirements with your municipality
4-6 Weeks Before
- Submit permit application
- Order materials (lead times can be 2-4 weeks)
- Call BC One Call (1-800-474-6886) to locate underground utilities
- Plan for any electrical work (contact electrician if needed)
1-2 Weeks Before
- Confirm permit approval
- Verify material delivery dates
- Clear the work area
- Gather tools and safety equipment
- Check weather forecast—aim for dry days
Installation Week
- Day 1: Ledger board, post brackets, posts
- Day 2: Header beam, rafters, structural verification
- Day 3: Panels, flashing, sealing
- Day 4: Gutters, trim, final touches, inspection
Best Time to Install in the Okanagan
Late spring (May-June) and early fall (September-October) offer the best conditions: moderate temperatures, less rain, and comfortable working weather. Avoid mid-summer installations when temperatures can make aluminum painfully hot to handle, and obviously skip winter unless you enjoy frostbite.
Frequently Asked Questions
Can I install an aluminum patio cover myself?
Yes, with proper planning and basic construction skills. DIY kits are available with pre-cut components. However, we recommend professional installation for attached covers, as improper attachment can cause structural damage or water intrusion.
What tools do I need for patio cover installation?
Essential tools include a drill/driver, level (4-foot minimum), tape measure, chalk line, saw (for any trimming), ladder, and safety equipment. You’ll also need the specific fasteners recommended by your kit manufacturer.
How long does professional installation take?
Most professional crews complete a standard 12×16 ft patio cover in 2-3 days, including site prep and cleanup. Larger or more complex installations may take 3-5 days.
Do I need a permit for patio cover installation?
In most Okanagan municipalities, yes. Attached patio covers typically require building permits. Freestanding covers under certain size thresholds may be exempt. Always check with your local building department before starting.
How much does it cost to install an aluminum patio cover in the Okanagan?
Professional installation typically costs $5,500 to $12,000 for a standard 12×16 ft cover, including materials and labor. DIY kits range from $2,500 to $4,500 for materials only. Costs vary based on size, style, and site conditions.
What is the minimum slope required for a patio cover?
A minimum slope of 1/4 inch per foot is required for proper drainage. For a 12-foot cover, this means at least 3 inches of drop from the house side to the outer edge. Many installers prefer 1/2 inch per foot for better water runoff.
Can I attach a patio cover to vinyl siding?
You should never attach structural loads directly to vinyl siding. The ledger board must be anchored to the wall framing beneath the siding. This typically involves removing a section of siding, installing the ledger with proper flashing, then trimming siding around it.
How do I prepare my patio for cover installation?
Ensure your concrete pad is level and in good condition. Repair any cracks. Clear the area of furniture and planters. Trim any tree branches that overhang the installation zone. Mark utility lines before digging any post holes.
What maintenance does an aluminum patio cover require after installation?
Aluminum covers need minimal maintenance. Clean panels 2-4 times yearly with mild soap and water. Clear debris from gutters seasonally. Check fasteners annually and tighten any that have loosened. Inspect seals and caulking every few years.
Need Professional Installation?
Our experienced team handles everything from permits to final inspection. Get a free quote for your Okanagan patio cover project.
Get Your Free Quote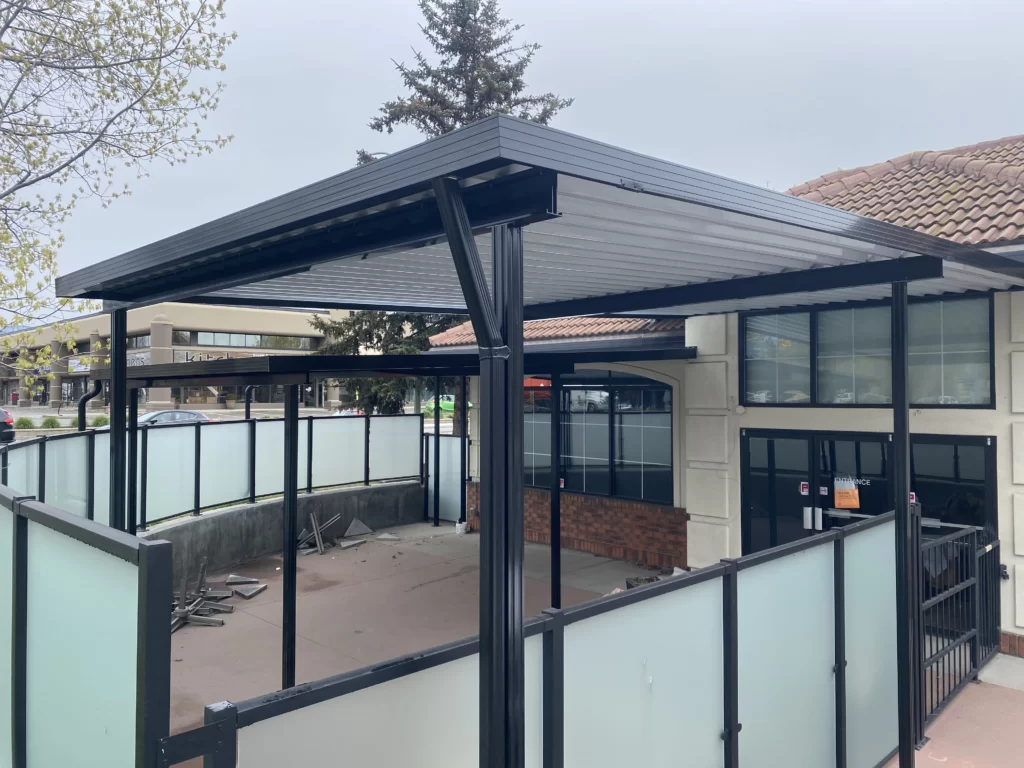
Ready to Start Your Project?
Get a free, no-pressure quote. We’ll help you choose the right solution for your backyard.
Serving Kelowna, West Kelowna, Vernon, Penticton, Lake Country & Salmon Arm