
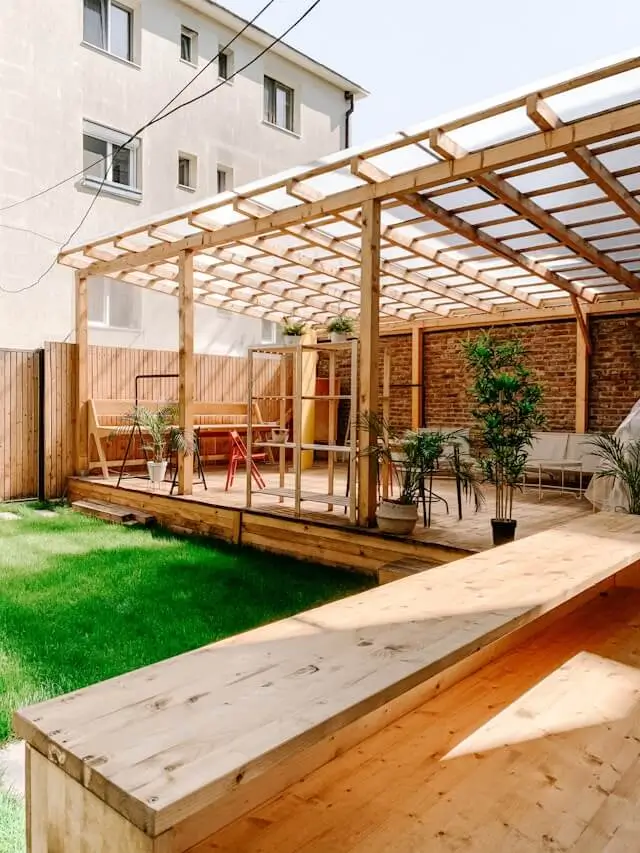
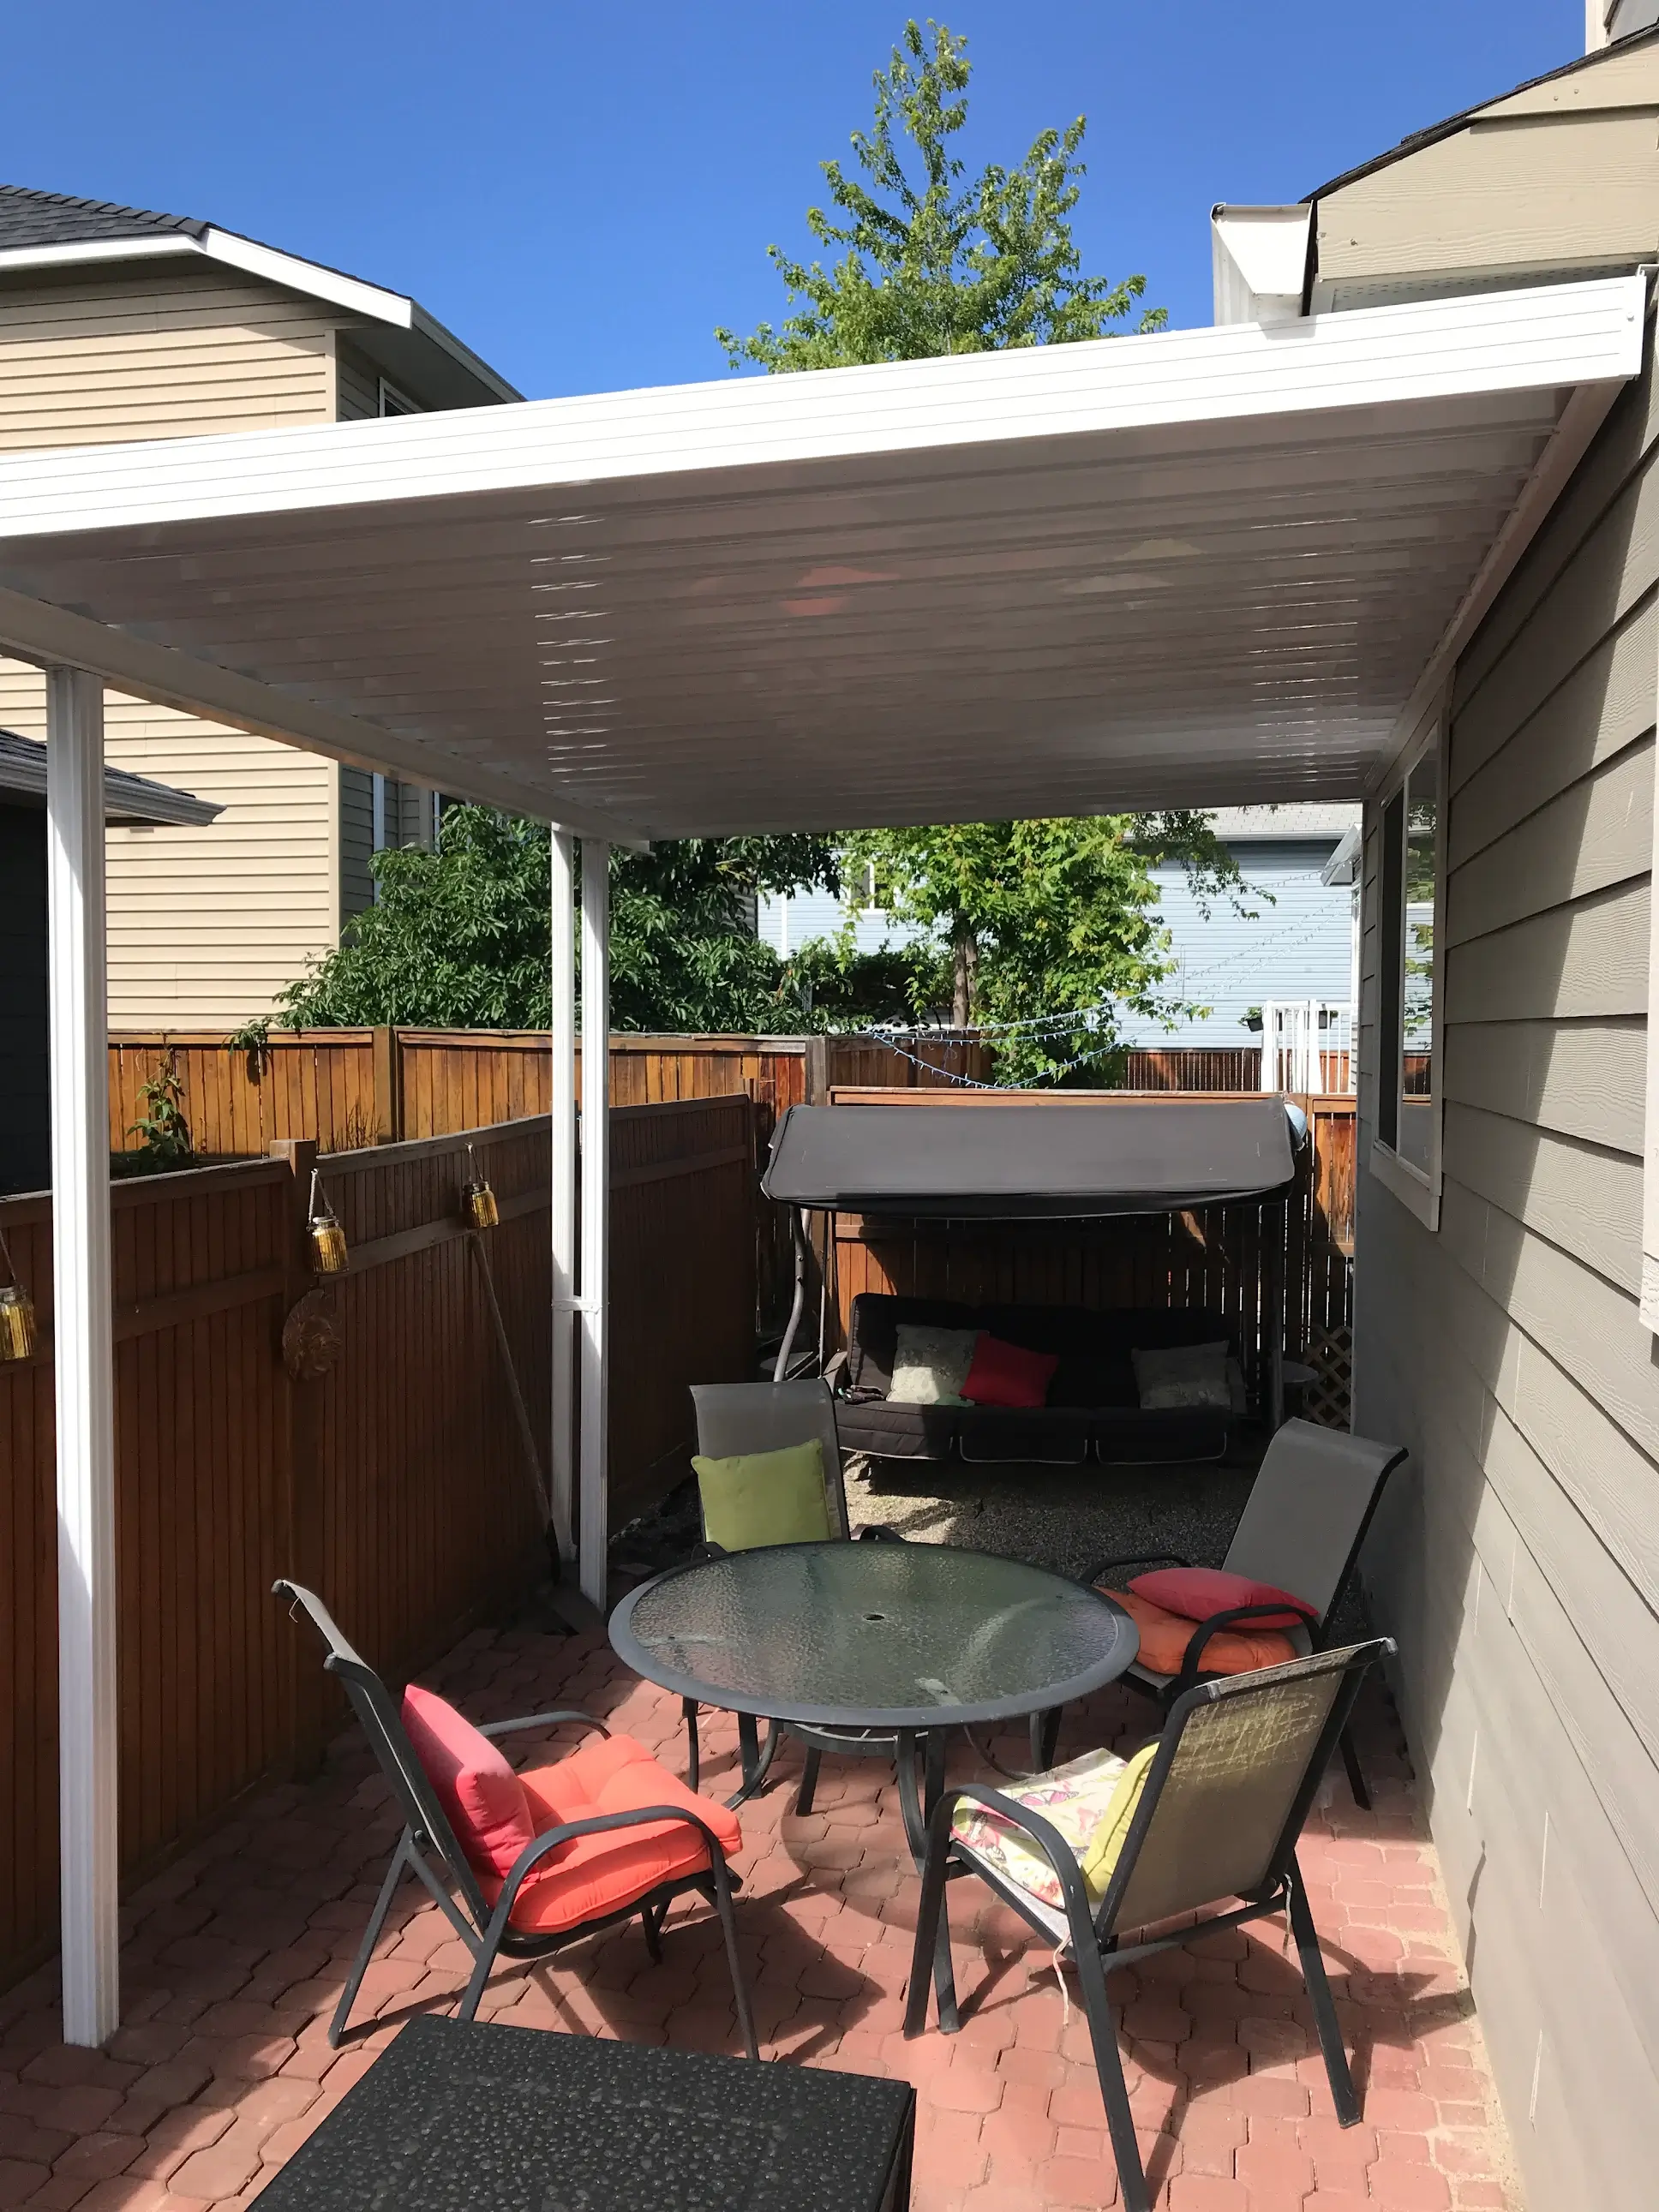
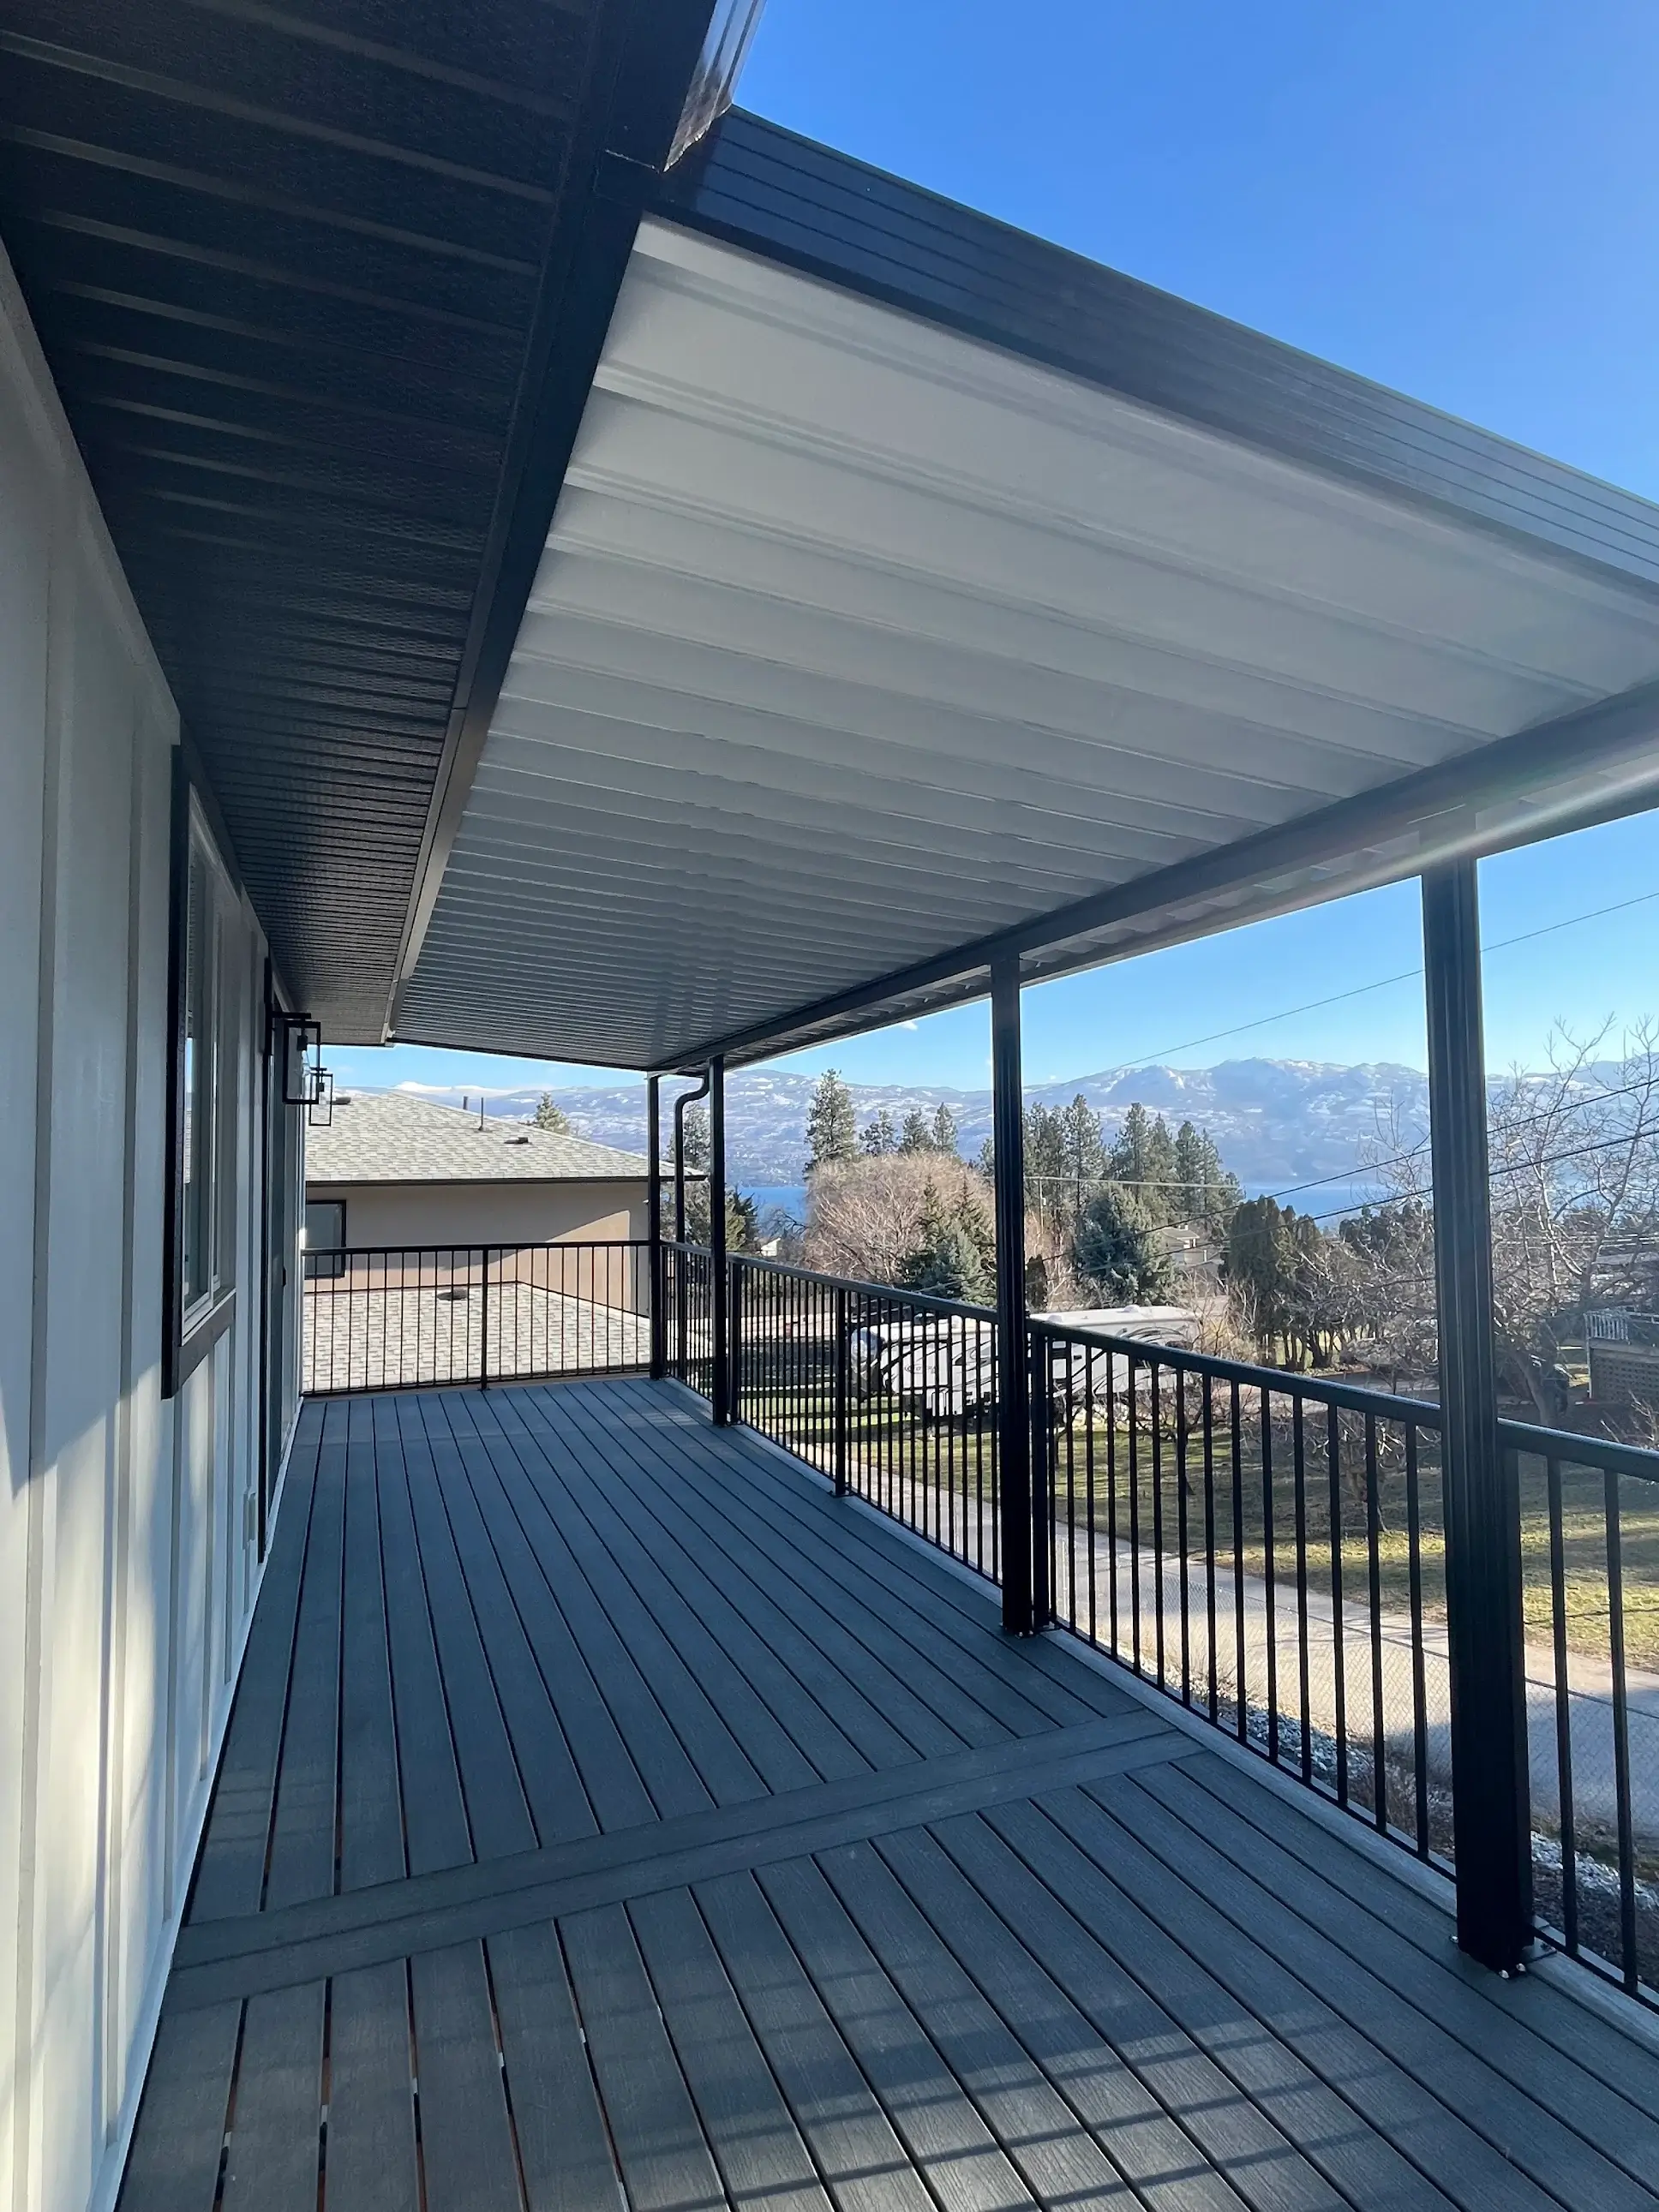
DIY Aluminum Patio Cover Installation Guide
We get calls every week from homeowners who started a patio cover install themselves and hit a wall. Some finish the job. Some call us to take over. Here’s an honest look at what a DIY aluminum patio cover project actually involves in the Okanagan — the good, the hard, and the stuff nobody tells you about.
Is DIY Right for Your Project?
Let’s be straight: not every patio cover job is a DIY job. We’ve seen homeowners knock out a simple 10×12 cover in a weekend. We’ve also seen guys three months into a project that should have been done in a week.
Good Candidates for DIY
- Simple rectangular covers under 12 feet wide
- Single-story homes with easy roof access
- Level concrete pads already in place
- You own a drill, level, and circular saw (and know how to use them)
- Your municipality doesn’t require engineered drawings
Call a Pro Instead If…
- Your span is over 16 feet
- The roof line has angles, dormers, or multiple levels
- You need structural modifications to your house
- You’re on a hillside with uneven ground
- The project needs engineered stamped drawings
Tools and Materials You’ll Need
Here’s the real list — not the simplified version you see on YouTube.
Tools
- Drill/impact driver with masonry bits (for ledger board attachment)
- Circular saw with aluminum-cutting blade
- Level (4-foot minimum, laser level preferred)
- Post hole digger or auger (rent one — hand-digging is brutal)
- Socket set and wrenches for structural bolts
- Ladder rated for your weight plus materials
- Tape measure (25-foot minimum)
- Chalk line and string
- Safety gear: glasses, gloves, hard hat for overhead work
Materials
- Posts: 6061-T6 aluminum, 4×4 minimum
- Beams: 6061-T6, sized for your span (see snow load section)
- Rafters: 6063-T5, typically 2×6
- Roofing panels: Corrugated aluminum (29 gauge min) or insulated panels
- Ledger board and flashing
- Concrete for footings (60lb bags — you’ll need more than you think)
- Stainless steel fasteners (not galvanized — they react with aluminum)
Permit Requirements in BC
This is where most DIY projects stall. In BC, you almost certainly need a building permit for a patio cover. Here’s the breakdown:
When You Need a Permit
- Covers over 10 square meters (about 108 sq ft) — that’s basically anything bigger than a 10×10
- Any structure attached to your house
- Any electrical work (lights, fans, outlets)
Local Building Departments
| City | Phone | Typical Wait |
|---|---|---|
| Kelowna | 250-469-8500 | 2-4 weeks |
| West Kelowna | 250-768-2711 | 2-3 weeks |
| Vernon | 250-550-3500 | 2-3 weeks |
| Penticton | 250-490-2400 | 2-4 weeks |
| Lake Country | 250-766-5650 | 1-3 weeks |
You’ll need site plans showing dimensions, setbacks from property lines, and structural details. Some municipalities require engineered drawings stamped by a BC engineer — that alone can cost $1,500-$3,000. Read our full guide on patio cover permits in BC for the complete process.
Measuring Your Space
Bad measurements are the #1 reason DIY patio covers end up crooked, leaking, or worse. Here’s what to measure and how.
Width and Projection
- Measure the width along your house wall where the cover will attach
- Measure how far out from the house you want coverage (the “projection”)
- Account for furniture — a 10-foot projection barely fits a table and chairs
Height to Attachment Point
- Measure from your patio surface to where you’ll bolt the ledger board
- Minimum 8 feet of clearance underneath
- You need at least 1 inch of drop per foot of projection for drainage
Check for Square
Use the 3-4-5 method: measure 3 feet along the wall, 4 feet out perpendicular, and the diagonal should be exactly 5 feet. If it’s off, your house wall isn’t square — and your cover needs to account for that.
For more detail, see our complete measuring guide.
Step-by-Step Installation
Step 1: Set Your Posts (Day 1)
Dig footings at least 4 feet deep (frost depth in the Okanagan). Pour concrete, set post brackets, and let it cure for 48 hours minimum. Don’t rush this — everything else depends on these being right.
Step 2: Install the Ledger Board (Day 2)
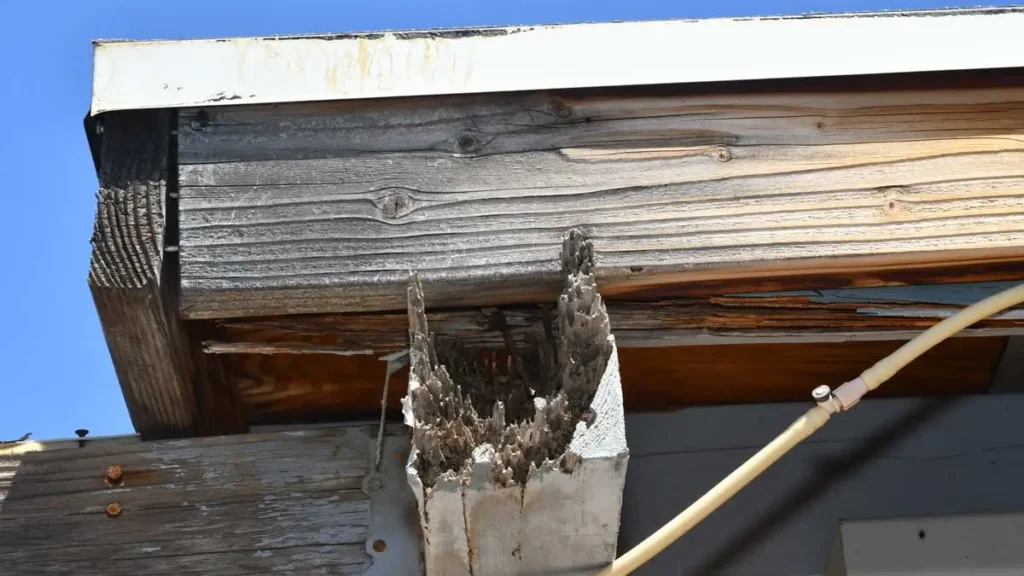
The ledger board bolts to your house wall and carries half the roof load. Use lag bolts into the rim joist (not just siding). Flash above the ledger to prevent water getting behind it — this is the most common failure point we see on DIY jobs.
Step 3: Set Posts and Beams (Day 2-3)
Cut posts to height, accounting for your drainage slope. Set the beam on top and bolt through. Check level in both directions before tightening everything down.
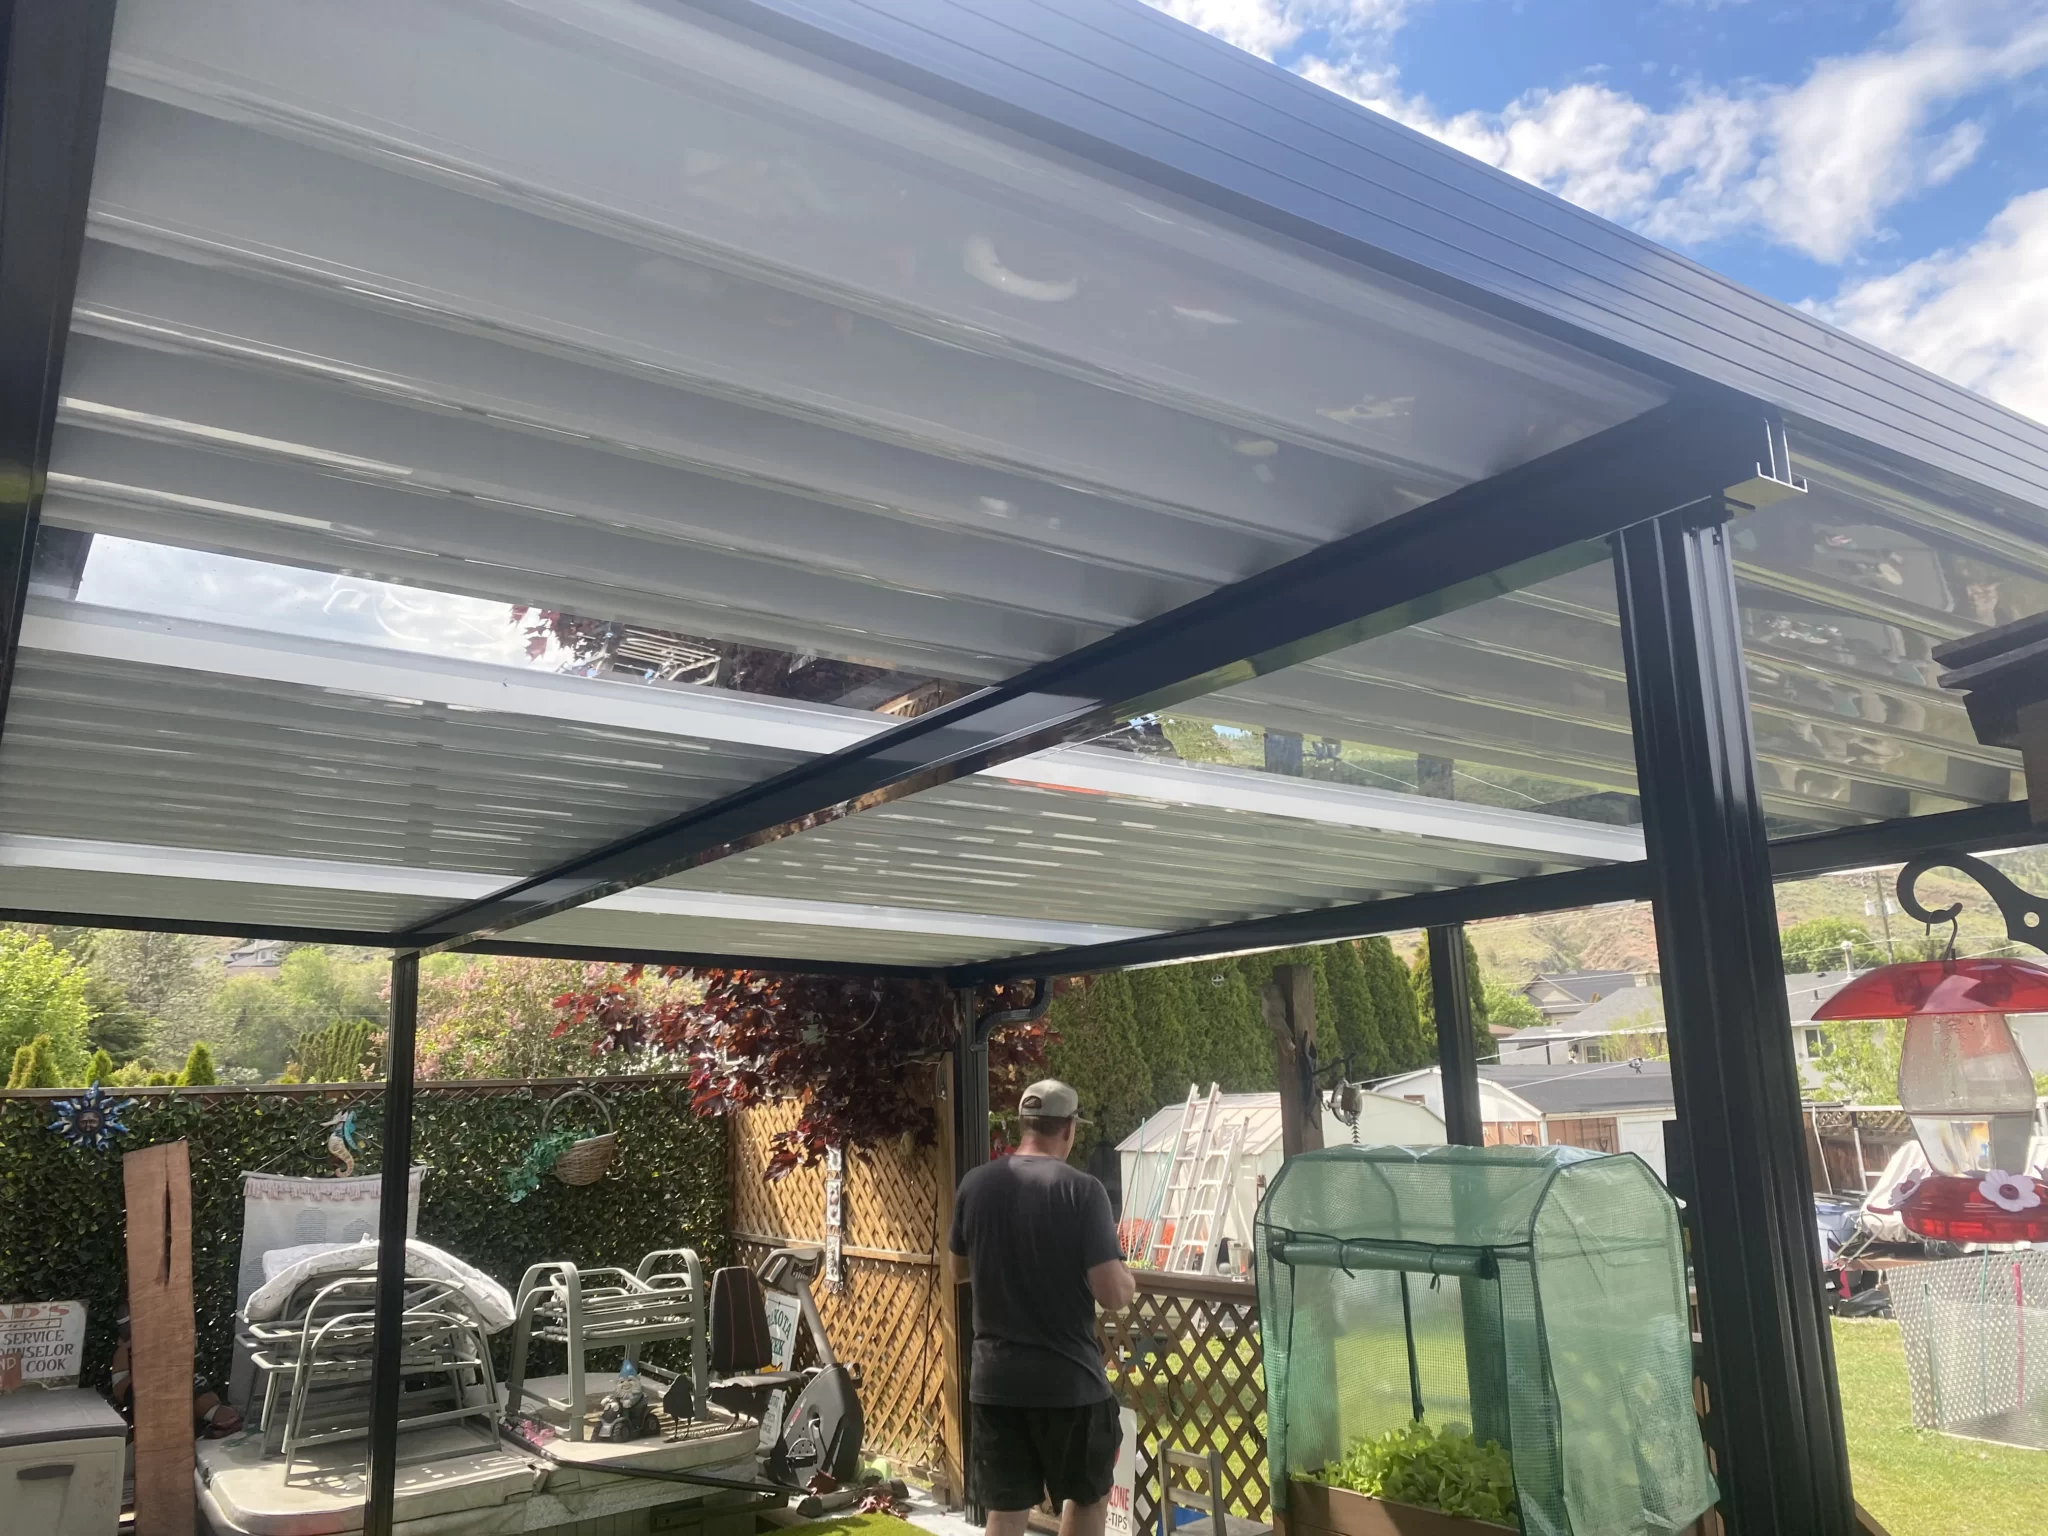
Step 4: Install Rafters (Day 3)
Rafters run from the ledger board to the beam. Space them 24 inches on center for standard spans, 16 inches for heavy snow load areas. Use hurricane ties or engineered connectors — toenailing isn’t enough.
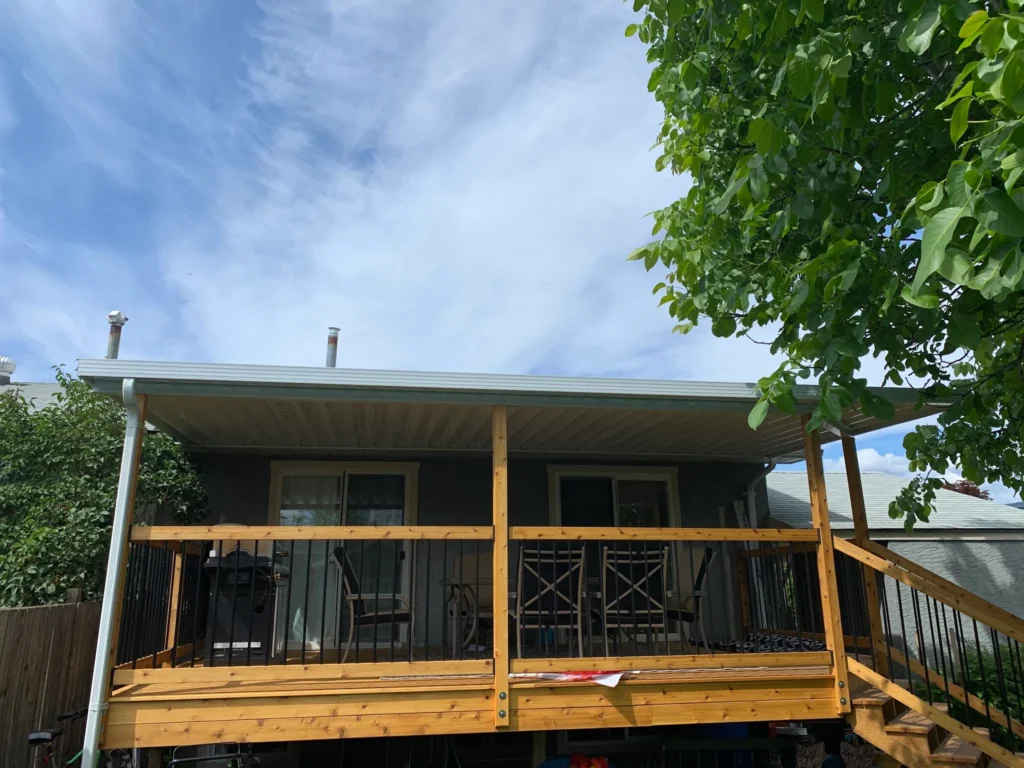
Step 5: Roof Panels (Day 3-4)
Start panels at the low end and overlap uphill so water sheds properly. Use rubber-washer screws and don’t overtighten — you’ll dimple the panels and create leak points.
Step 6: Flashing and Gutters (Day 4)
Flash where the roof meets the house wall. Add gutters along the low edge with downspouts directing water at least 4 feet away from your foundation.
Snow Load Requirements
This isn’t optional in the Okanagan. Our snow loads are real, and undersized structures collapse. Here’s what your area requires:
| Location | Snow Load | Beam Size (12ft span) |
|---|---|---|
| Kelowna | 2.4 kPa (50 lbs/sq ft) | 2×10 minimum |
| Vernon | 3.0 kPa (63 lbs/sq ft) | 2×12 minimum |
| Higher Elevations | Up to 4.8 kPa (100 lbs/sq ft) | Engineered beam required |
For a deeper dive, check our guide on patio cover snow loads in BC.
Common DIY Mistakes We Fix
We’ve rebuilt a lot of failed DIY patio covers. Here are the mistakes we see over and over:
- Undersized footings: Footings too shallow heave in winter and your whole structure shifts
- No flashing behind the ledger: Water gets behind the board, rots the rim joist, and you’ve got a $5,000 repair on top of the cover cost
- Wrong fasteners: Galvanized on aluminum = corrosion at every connection within 2-3 years
- Insufficient slope: Flat roofs pond water, sag under snow, and leak at every seam
- Skipping the permit: If you sell your house and it’s unpermitted, you may have to tear it down
When to Call a Professional
There’s no shame in it. Here’s when you should pick up the phone:
- Your span exceeds 14 feet and you’re not sure about beam sizing
- You need engineered drawings and don’t want to pay $2,000+ for them separately
- The attachment point involves stucco, brick, or stone (improper fastening cracks masonry)
- You’ve been at it for three weekends and it’s still not level
- Your municipality rejected your permit application
We offer free on-site consultations. Even if you want to do the work yourself, we can review your plan and flag problems before they become expensive. See our cost comparison for what professional installation actually costs — it’s often less than people expect once you factor in tools, materials markup, and your time.
Frequently Asked Questions
How much does a DIY aluminum patio cover cost?
Materials alone run $1,500-$4,000 for a typical 10×12 cover, depending on panel type and aluminum grade. Add $200-$500 for tools you don’t own, $300-$800 for permits, and $200-$400 for concrete. All in, most DIY projects land between $2,500 and $5,500. Professional installation for the same size runs $4,000-$8,000 including everything.
Do I need a permit for a patio cover in Kelowna?
Yes, almost always. Any patio cover over 10 square meters (108 sq ft) or attached to your house requires a building permit in Kelowna. Contact the City of Kelowna Building Department at 250-469-8500. Expect 2-4 weeks for approval and budget $300-$500 for the permit fee.
How long does a DIY patio cover installation take?
Realistically, 3-4 weekends of work for a first-timer on a simple rectangular cover. That doesn’t include 2-4 weeks for permits or 48 hours of concrete curing. Budget 4-6 weeks from start to finish. Professional crews typically finish in 2-3 days.
Can I attach a patio cover to my house myself?
You can, but the ledger board connection is the most critical part of the whole project. It needs to go into the rim joist with proper lag bolts, and flashing must go above it to prevent water damage. If your house has stucco or masonry siding, the attachment is significantly more complex. This is the #1 failure point we see on DIY jobs.
What aluminum grade should I use for a patio cover?
Use 6061-T6 for structural members (posts and beams) — it’s the strongest common alloy. 6063-T5 works fine for rafters and trim. Never use 3003 or other soft alloys for structural applications, even if they’re cheaper. In the Okanagan, your structure needs to handle real snow loads.
Is a DIY patio cover worth it?
It depends on your skills and situation. If you’re handy, have the tools, and your project is a simple rectangular cover under 12 feet wide, you can save 30-40% over professional installation. For anything complex — angles, long spans, difficult attachment points — the savings usually evaporate once you factor in mistakes, rented tools, and your time at $0/hour.
Need a Hand With Your Project?
Whether you want a full install or just a second opinion on your DIY plan, we’re happy to help. Free quotes, no pressure.
Get Your Free Quote
Ready to Start Your Project?
Get a free, no-pressure quote. We’ll help you choose the right solution for your backyard.
Serving Kelowna, West Kelowna, Vernon, Penticton, Lake Country & Salmon Arm